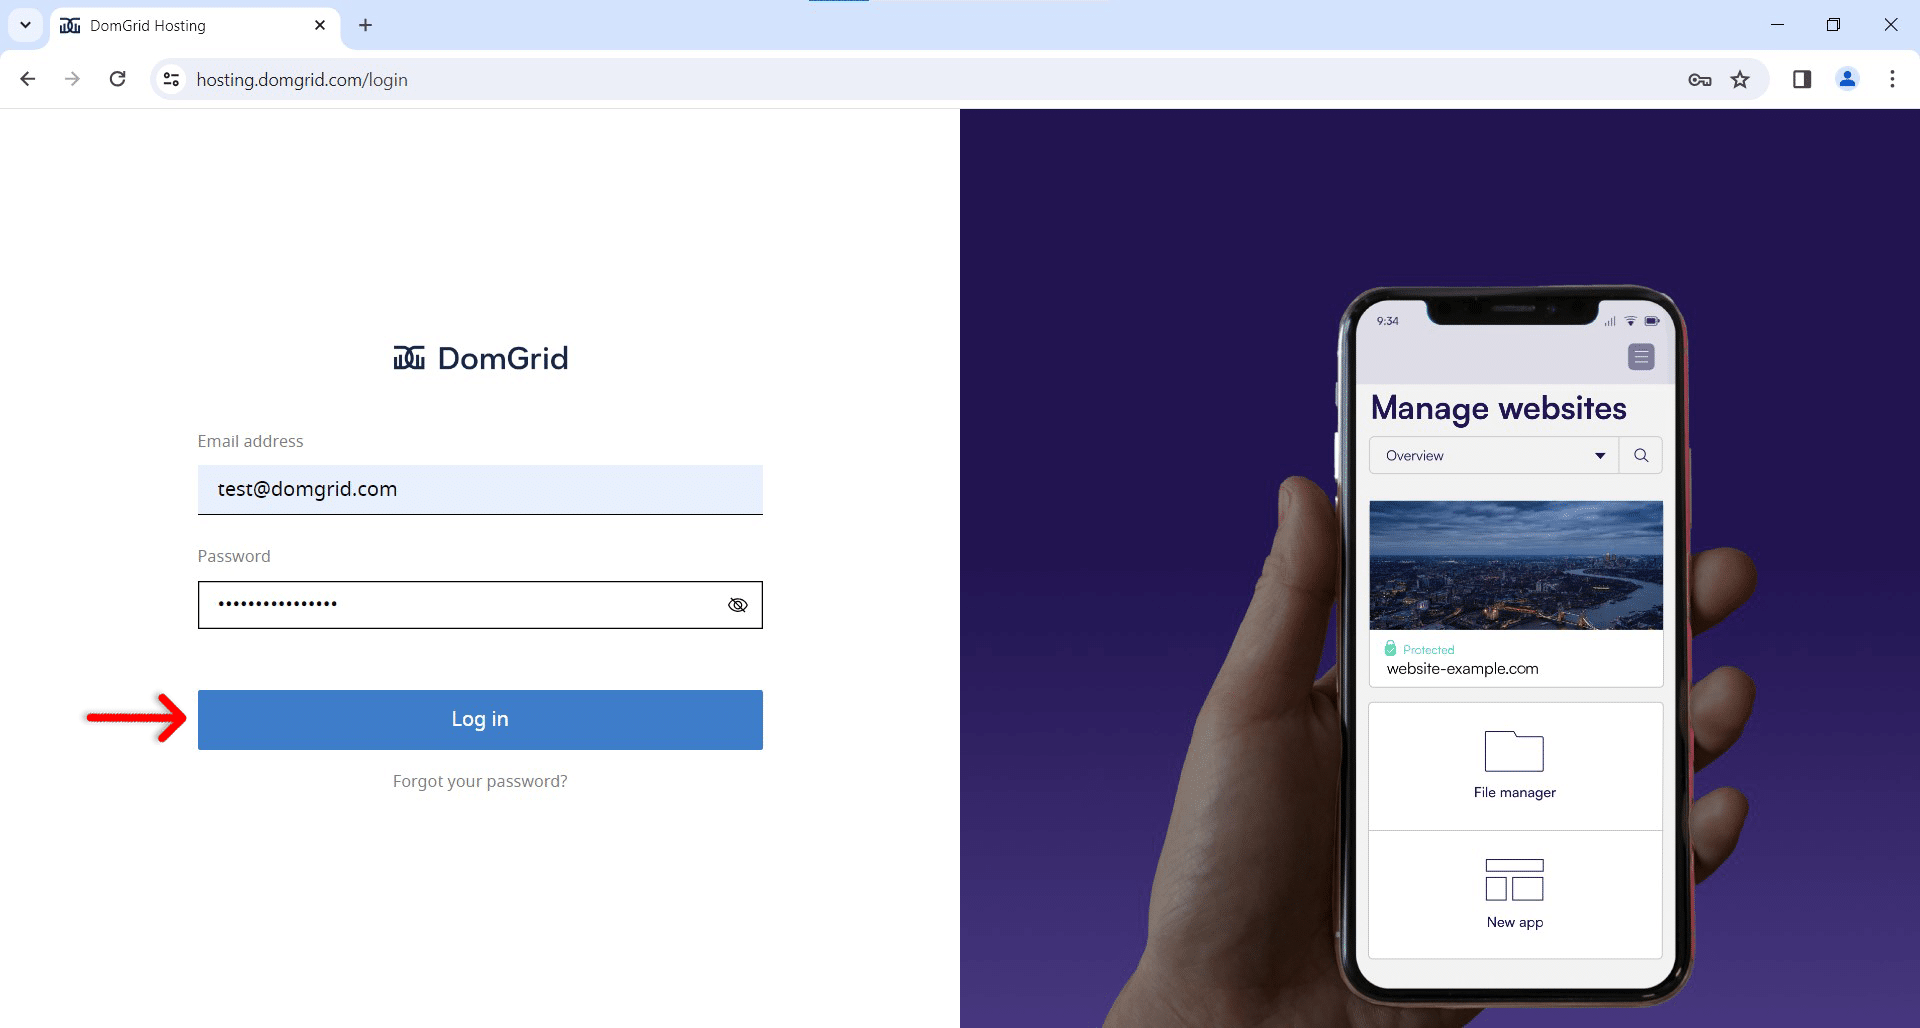
How to Log In to DomGrid Hosting Panel
Step 1.
Navigate yourself to the following link to login to DomGrid Hosting:
https://hosting.domgrid.com/login

Step 2.
Enter your login information and click “Login”.
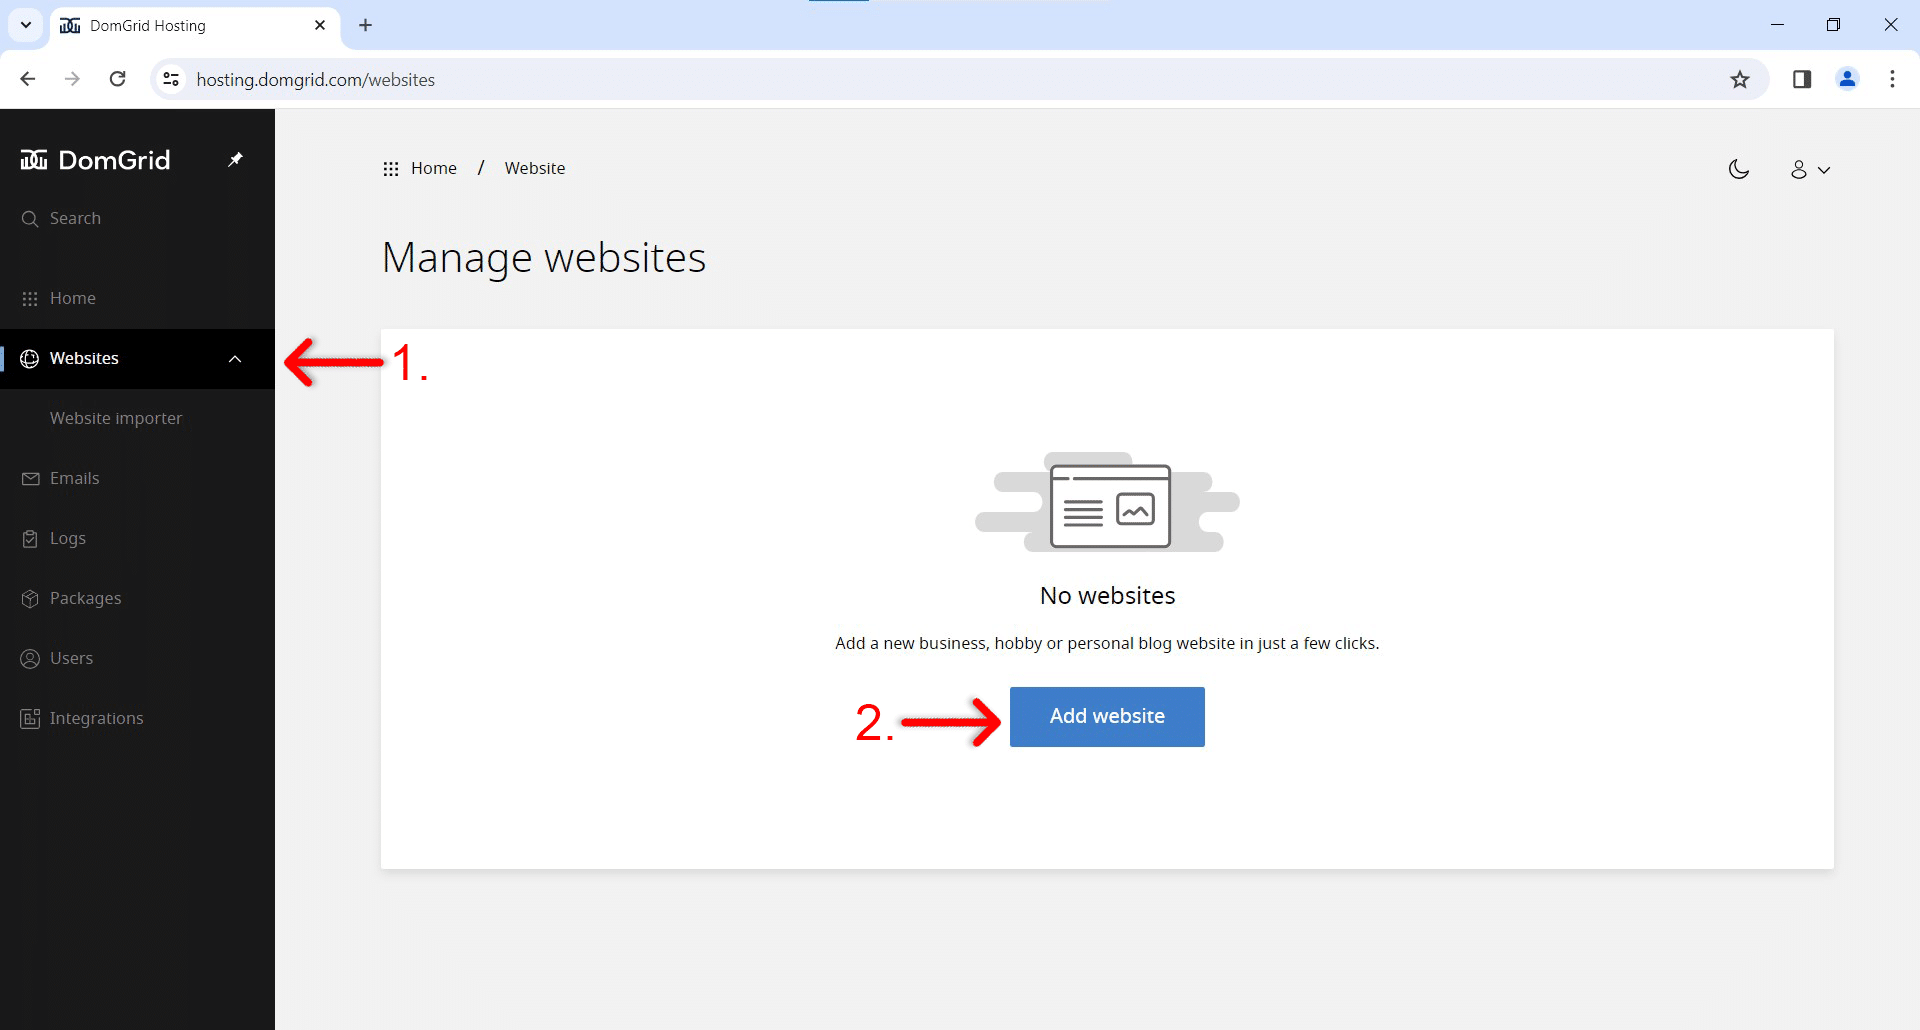
How to Add a Website
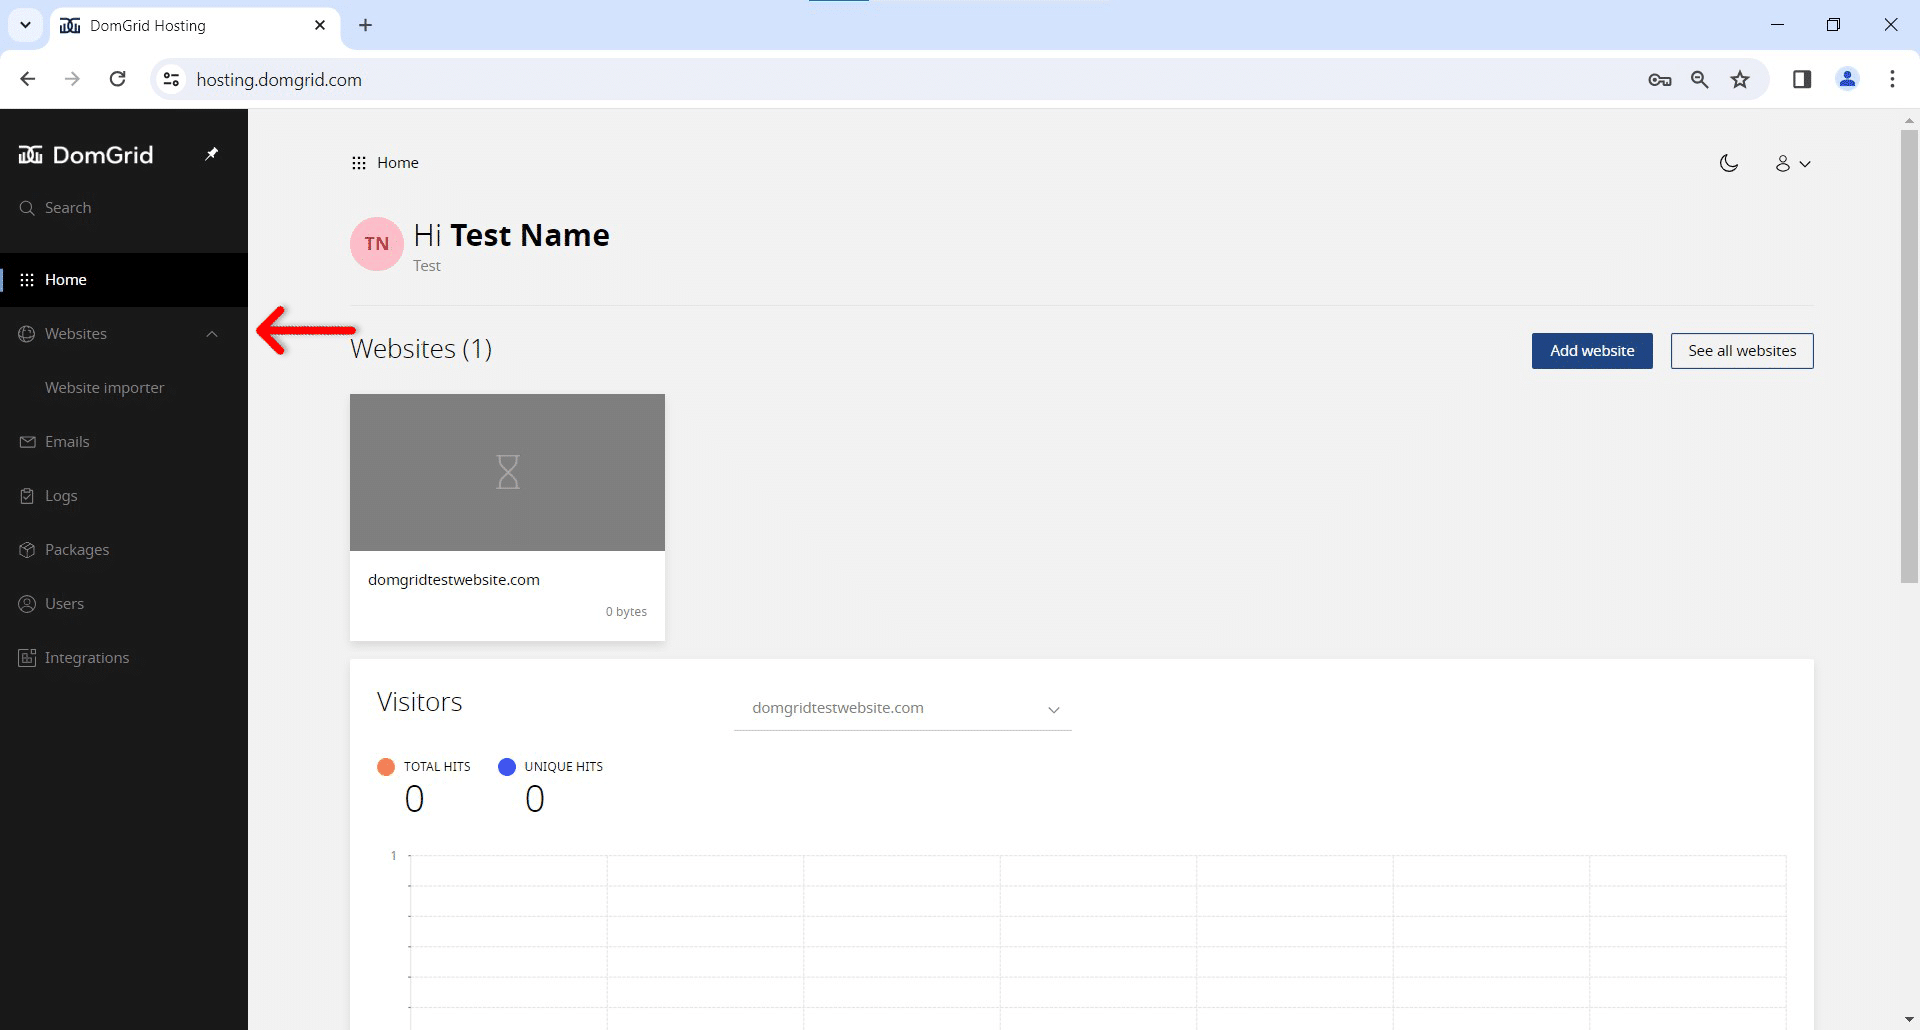
Step 1.
Once you log in to DomGrid Hosting your interface should look like this. You can click on the “Add website” button in the middle:

You can also click on the on the “Websites” in the menu (1.) and click “Add website” button (2.).
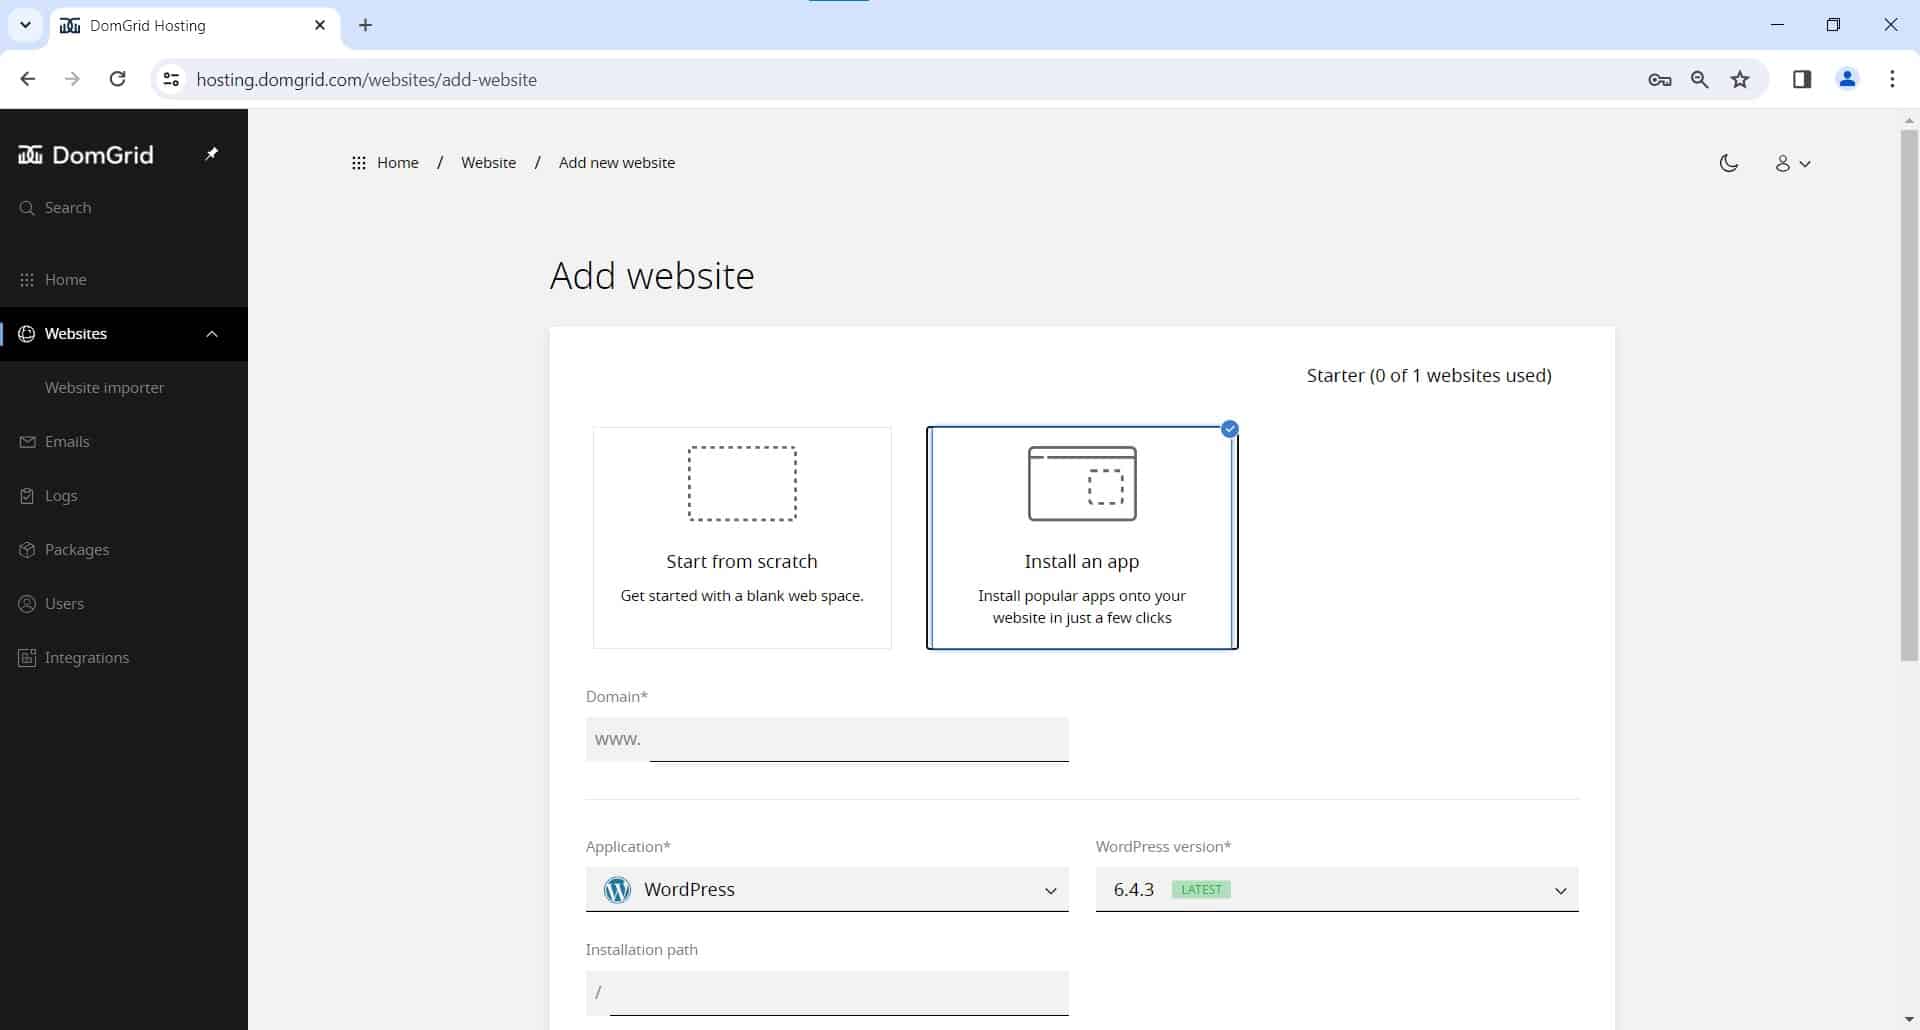
Step 2.
Here you can install the website from scratch – “Start from scratch”, or install it as a wordpress application – “Install an App”. If you decide to create WordPress website, please use the default settings, just input your desired domain, username, email and password.
How to Add a Subdomain
Step 1.
Click on the on the “Websites” in the menu and choose the website for which you want to add the subdomain. Or choose the website from the “Websites()” section in the middle of the screen.

Step 2.
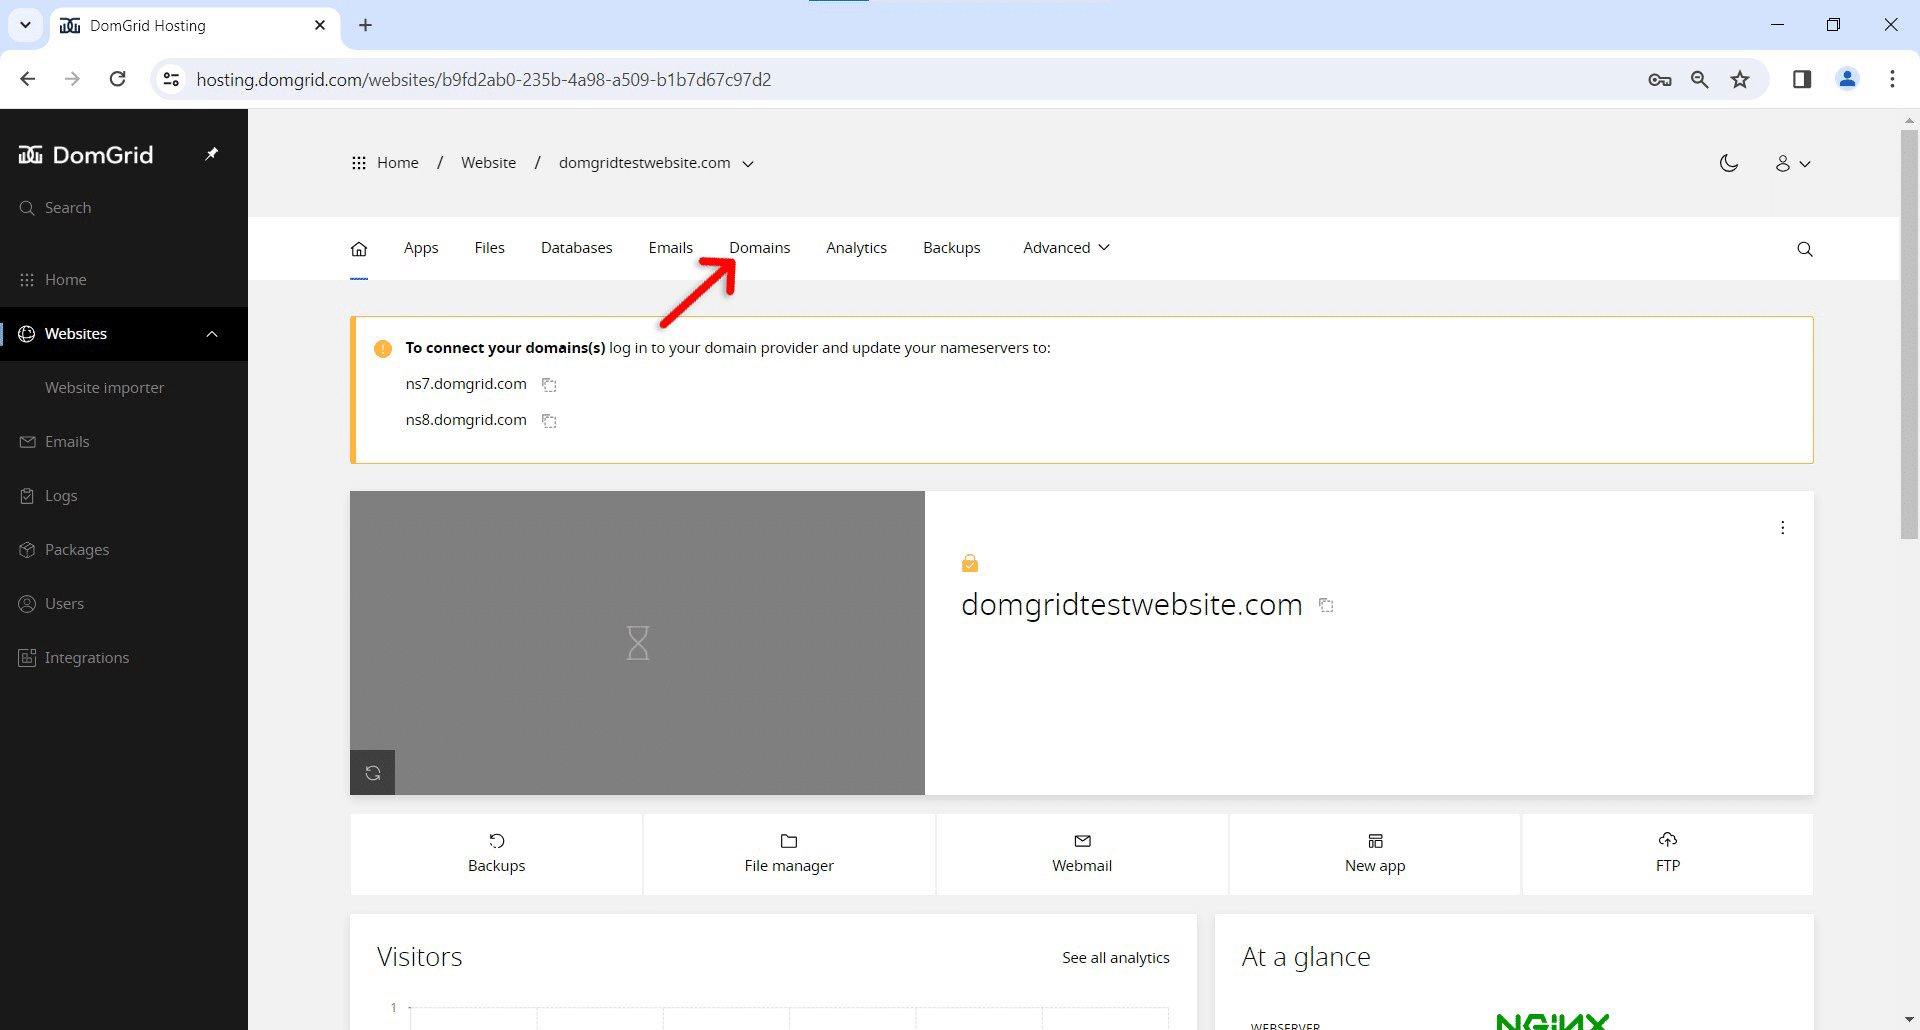
Click on the “Domains” in the menu.
Step 3.
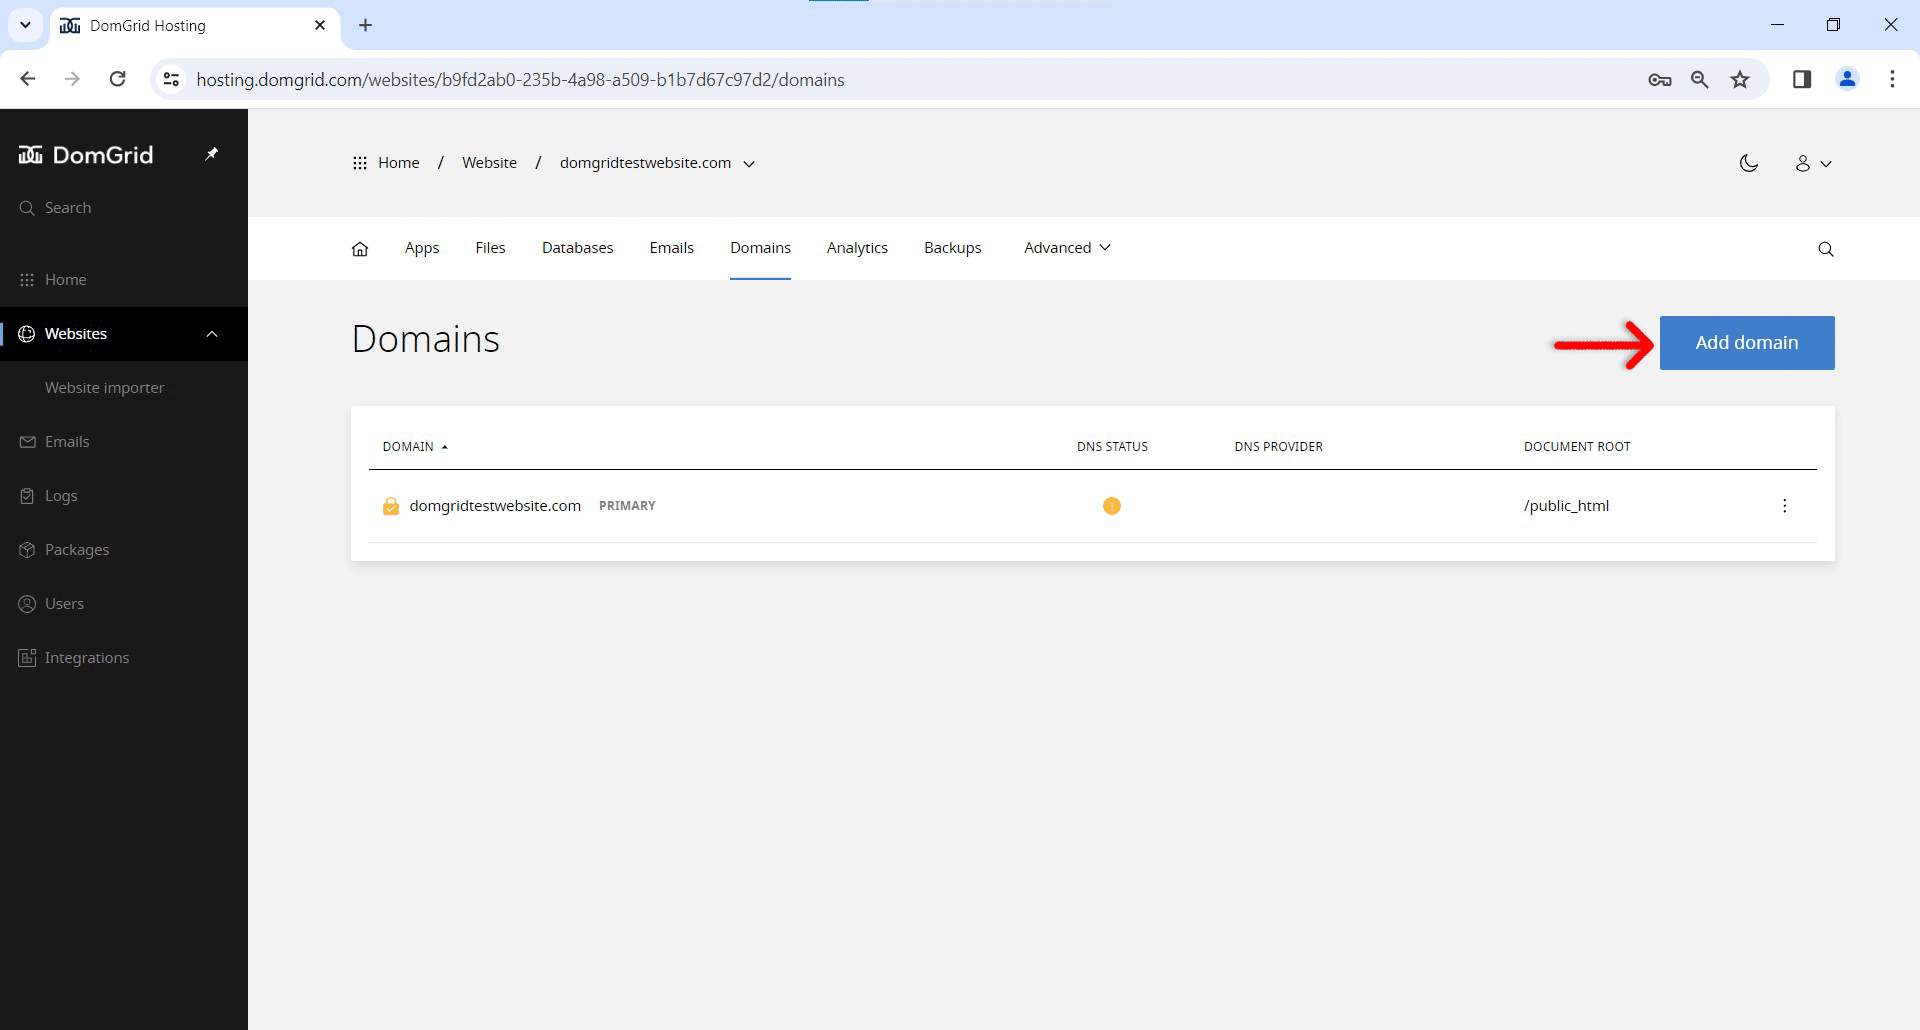
Click on the “Add domain” button.
Step 4.
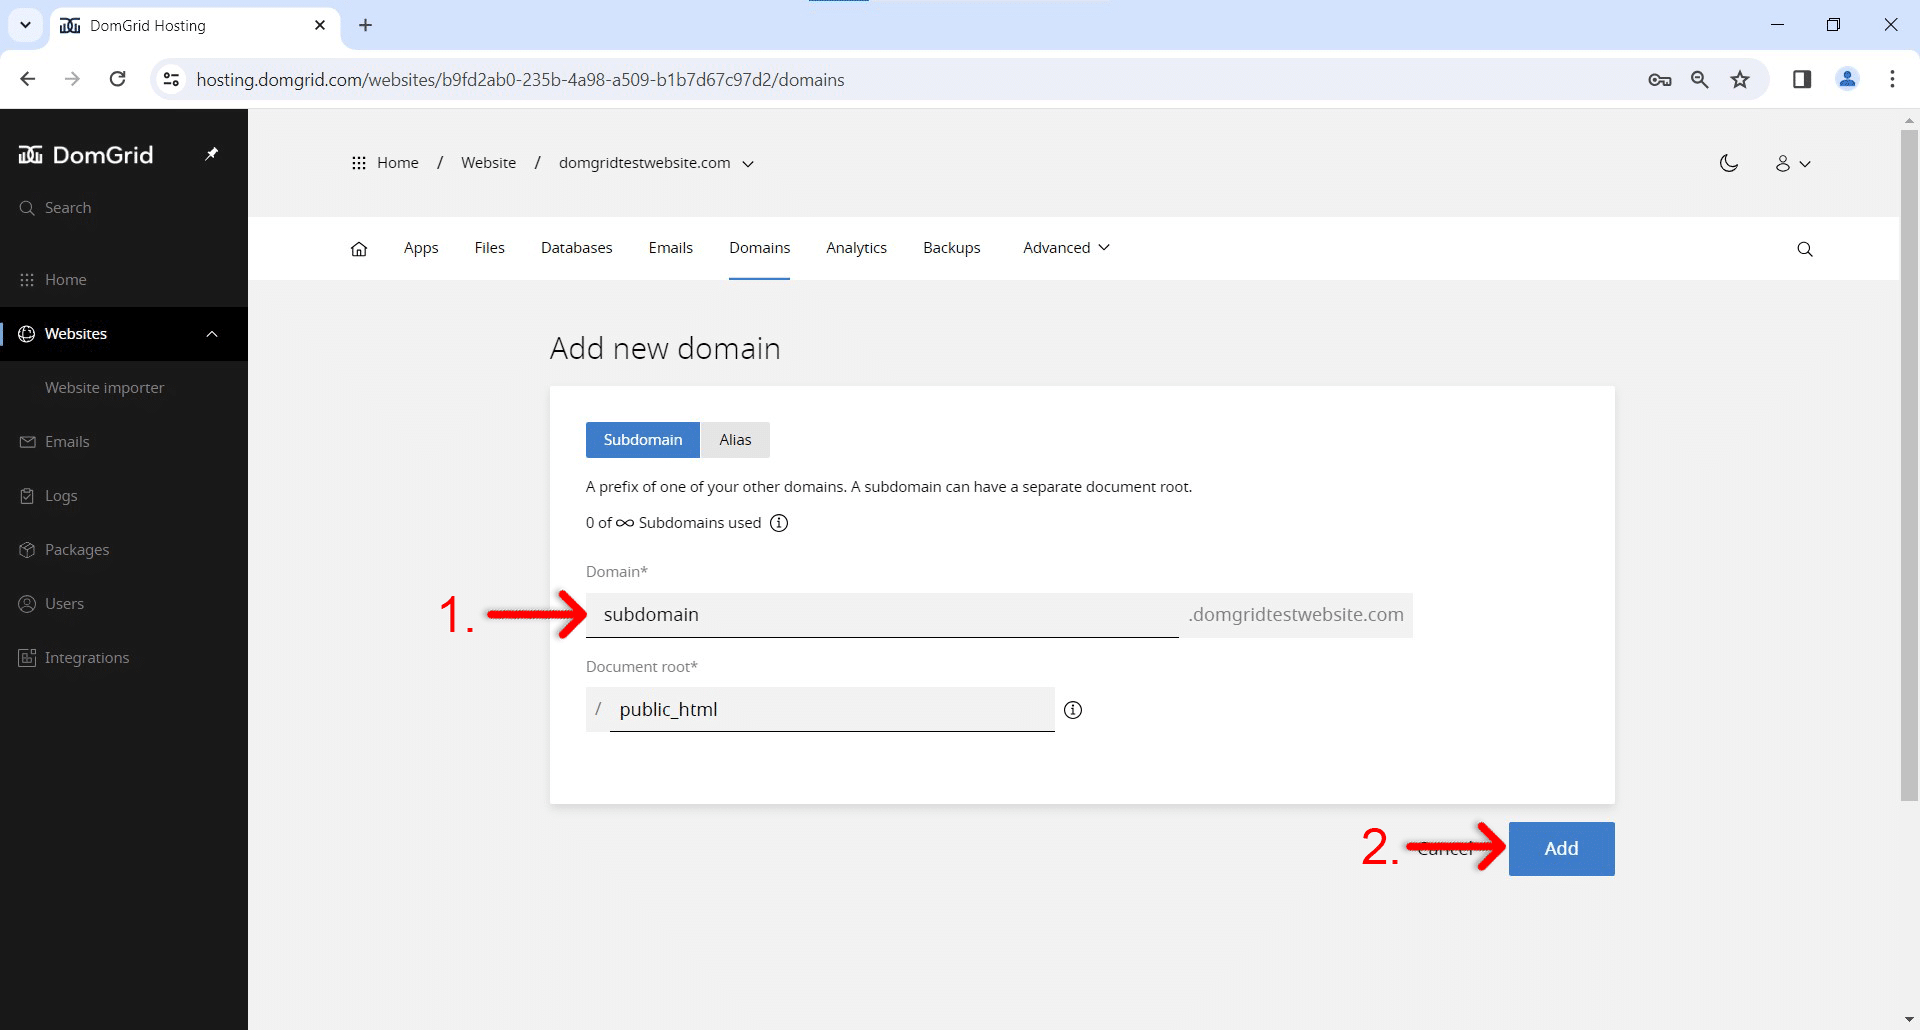
Input the name for your subdomain (1.) and click on the “Add domain” button (2.).
How to Add Emails
Step 1.
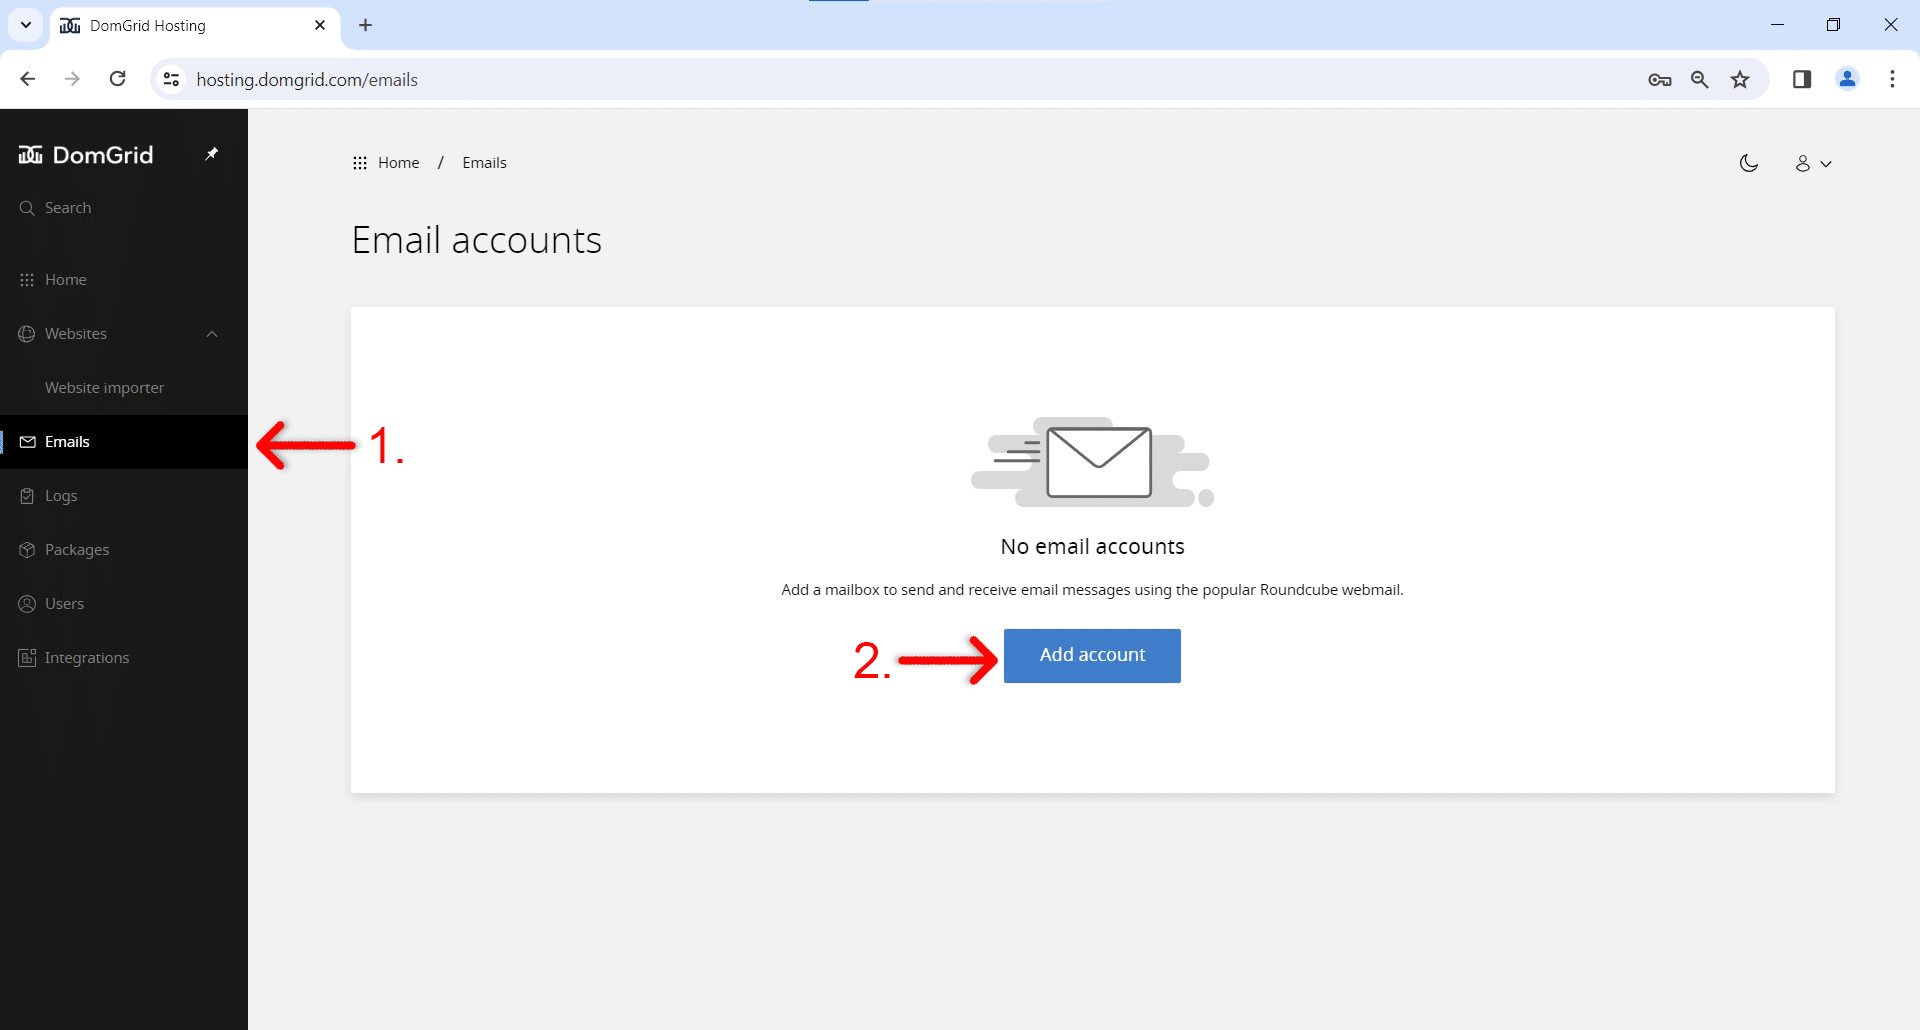
Once you create your website in DomGrid Hosting, click on the “Emails” in the menu (1.) and click “Add account” button (2.).
Step 2.
Here you can input your desired email and password. For the “Mailbox size*”, please input 5GB as the value. This is to ensure that your email account will have enough mailbox space.

How to Reset Email Password
Step 1.
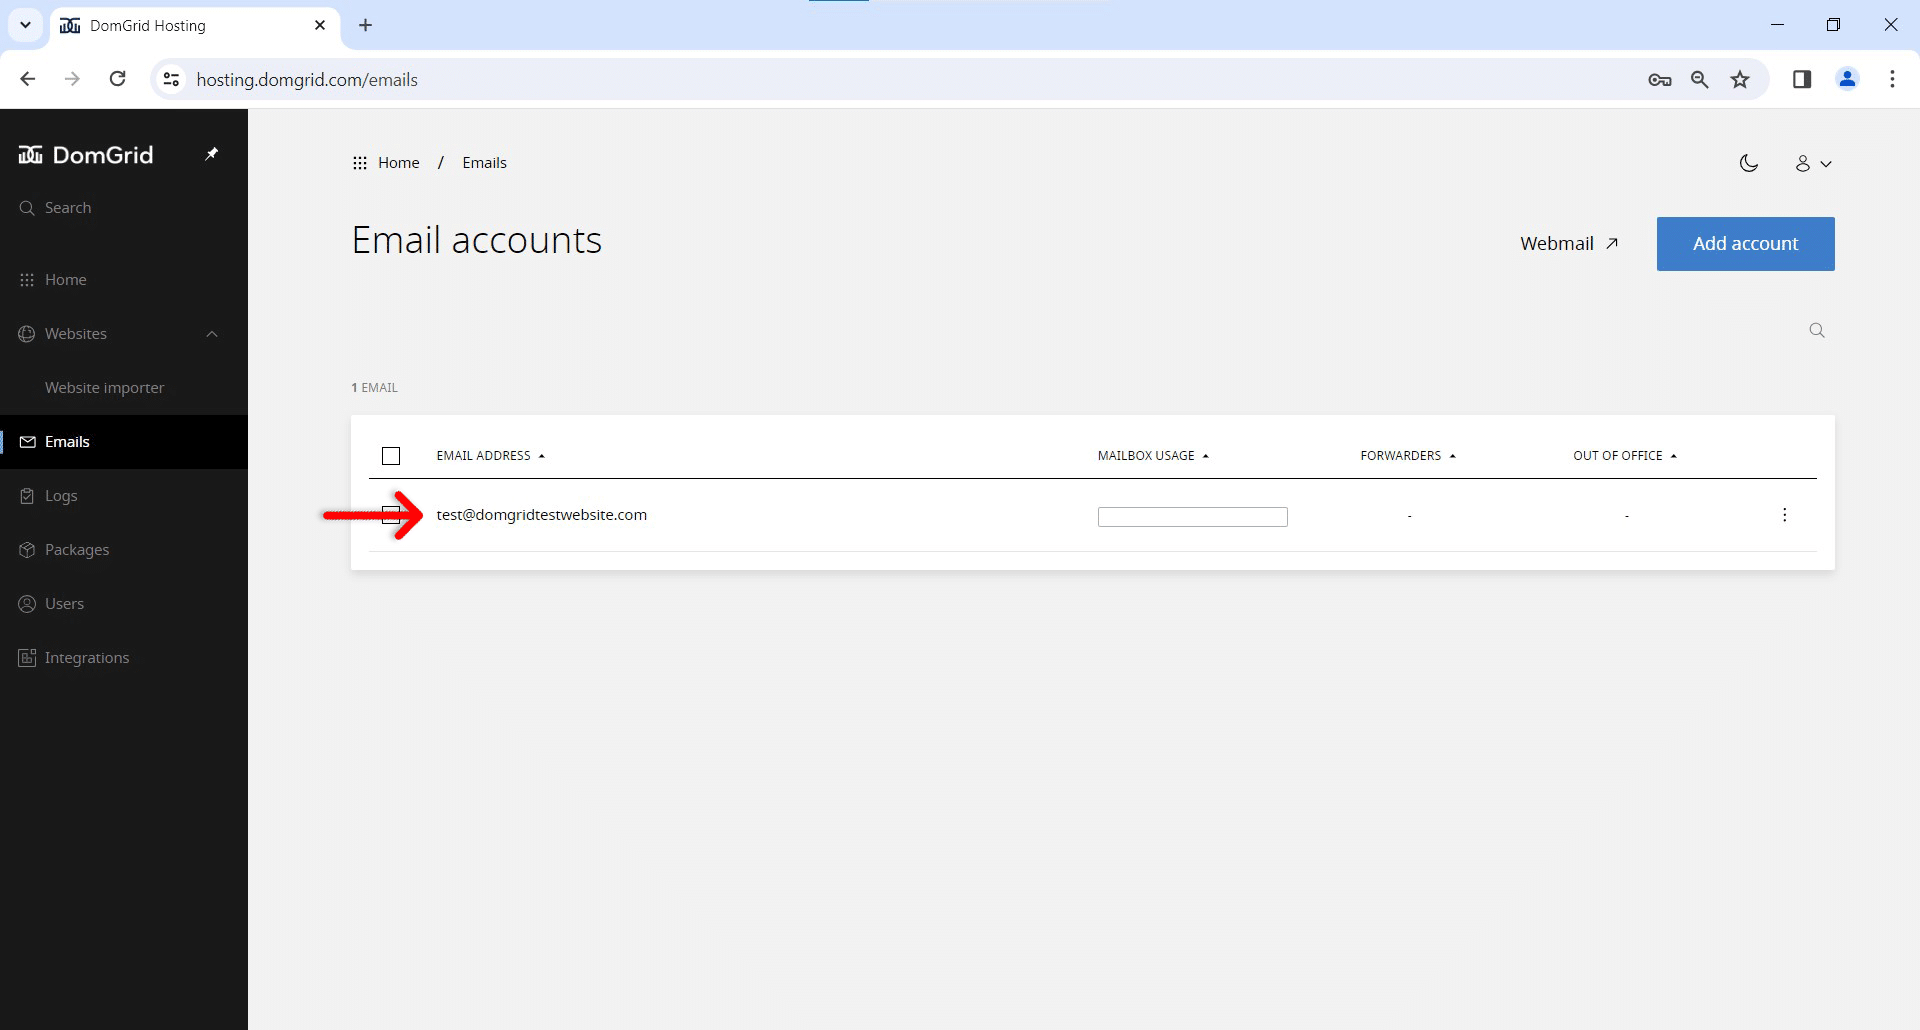
To restart the password for an email account, click on the “Emails” in the menu.

Step 2.
Click on the email for which you want to restart the password.
Step 3.
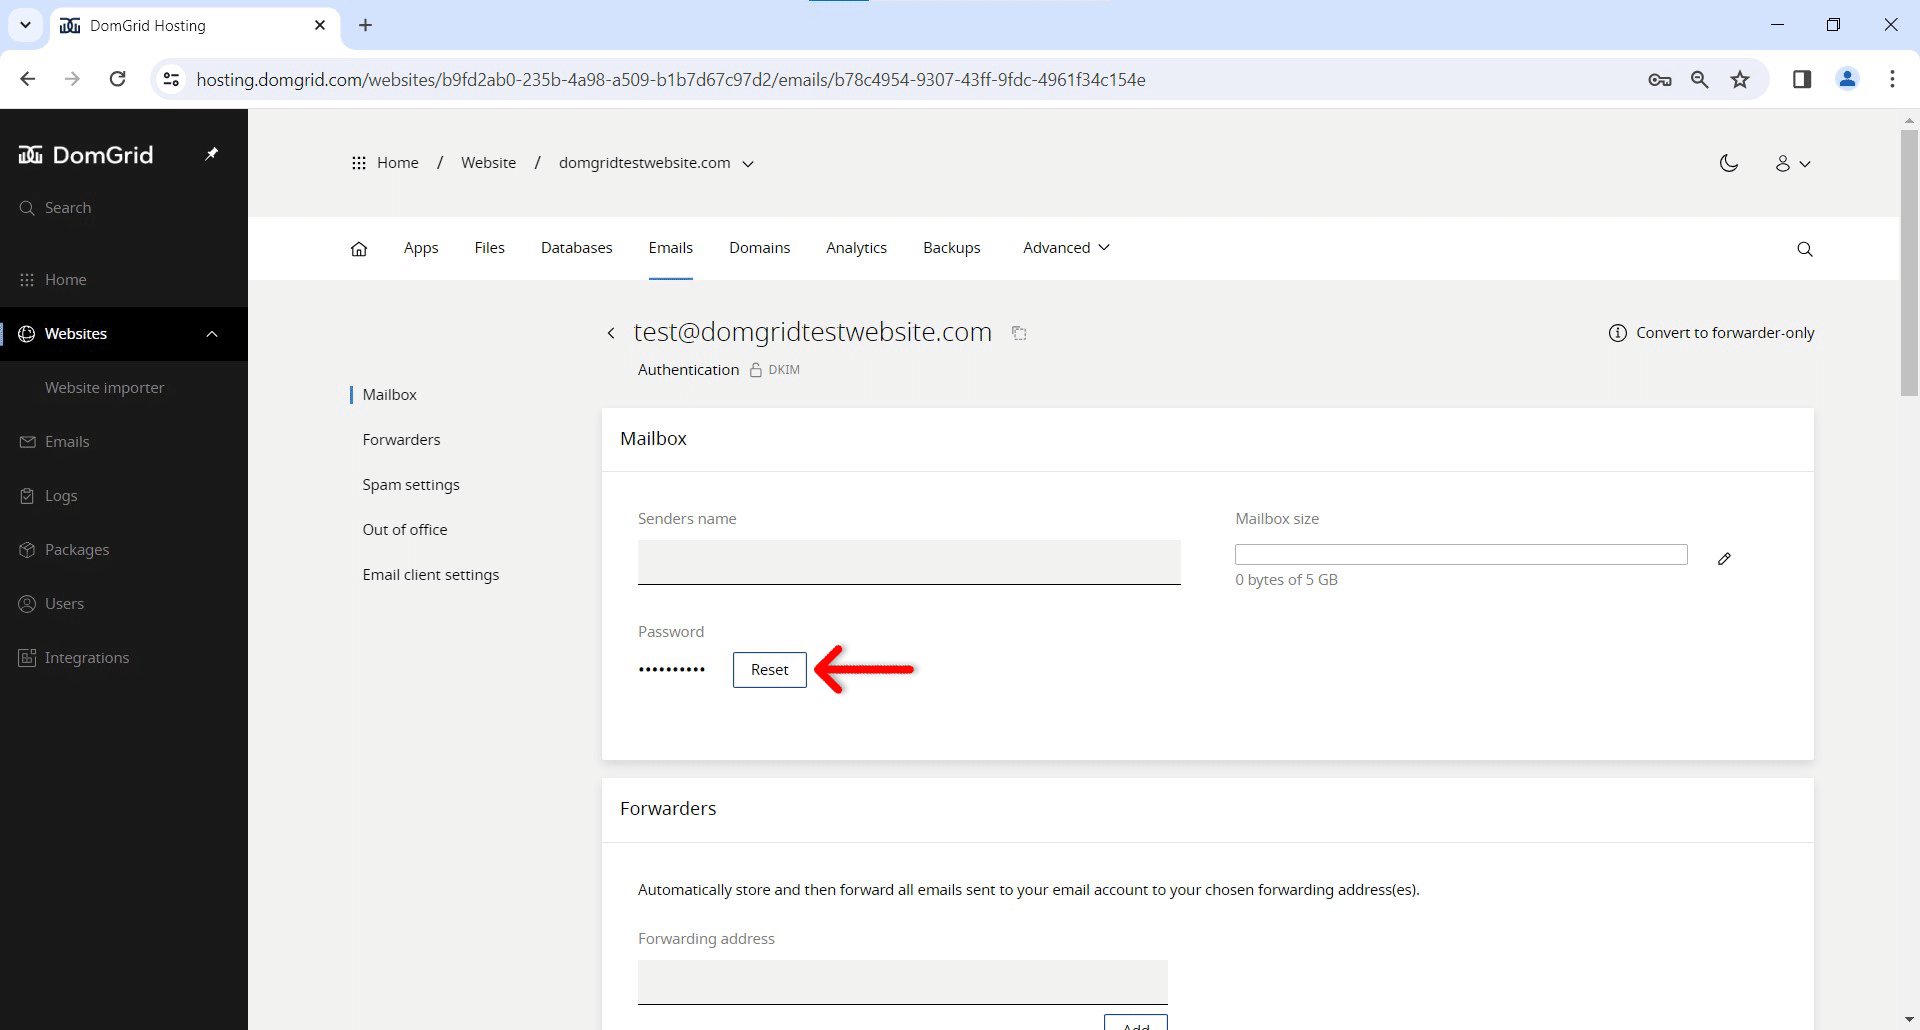
Click on the “Reset” button and choose your new password.
Step 4.
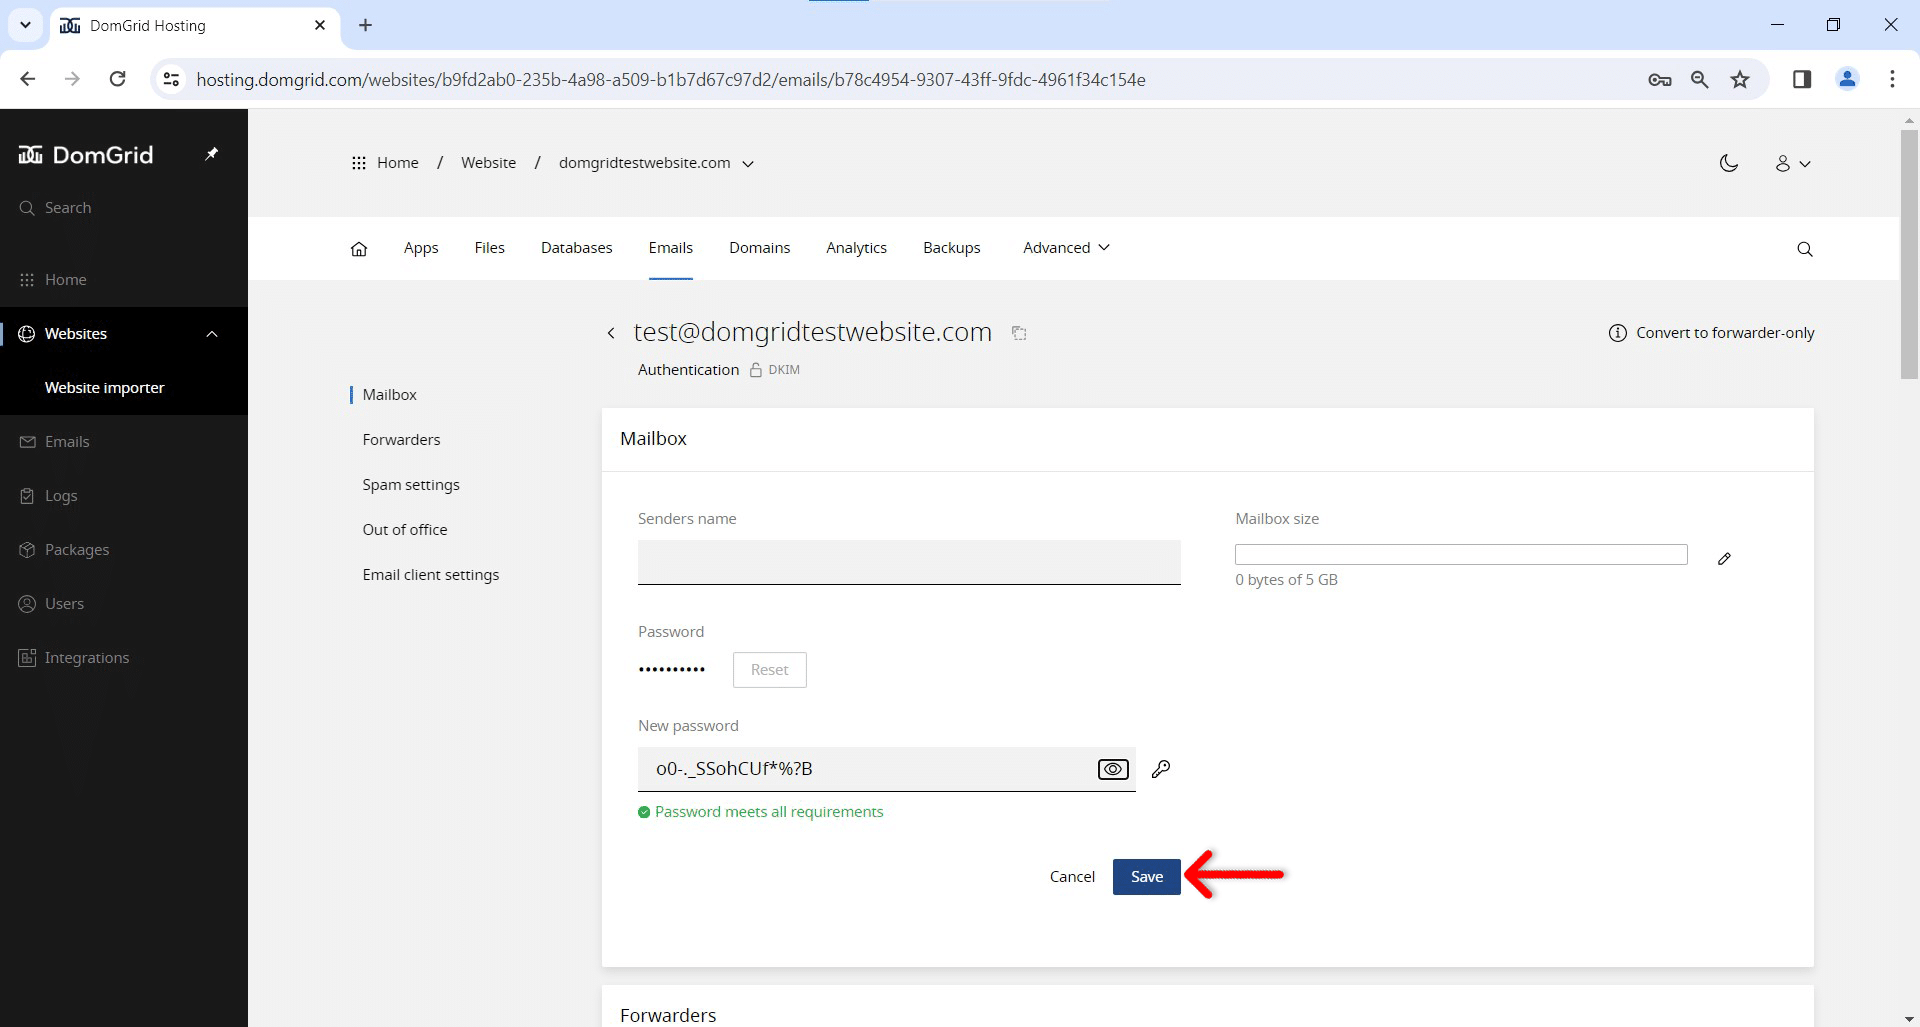
Choose your new password and click on the “Save” button. Your password has now been updated!
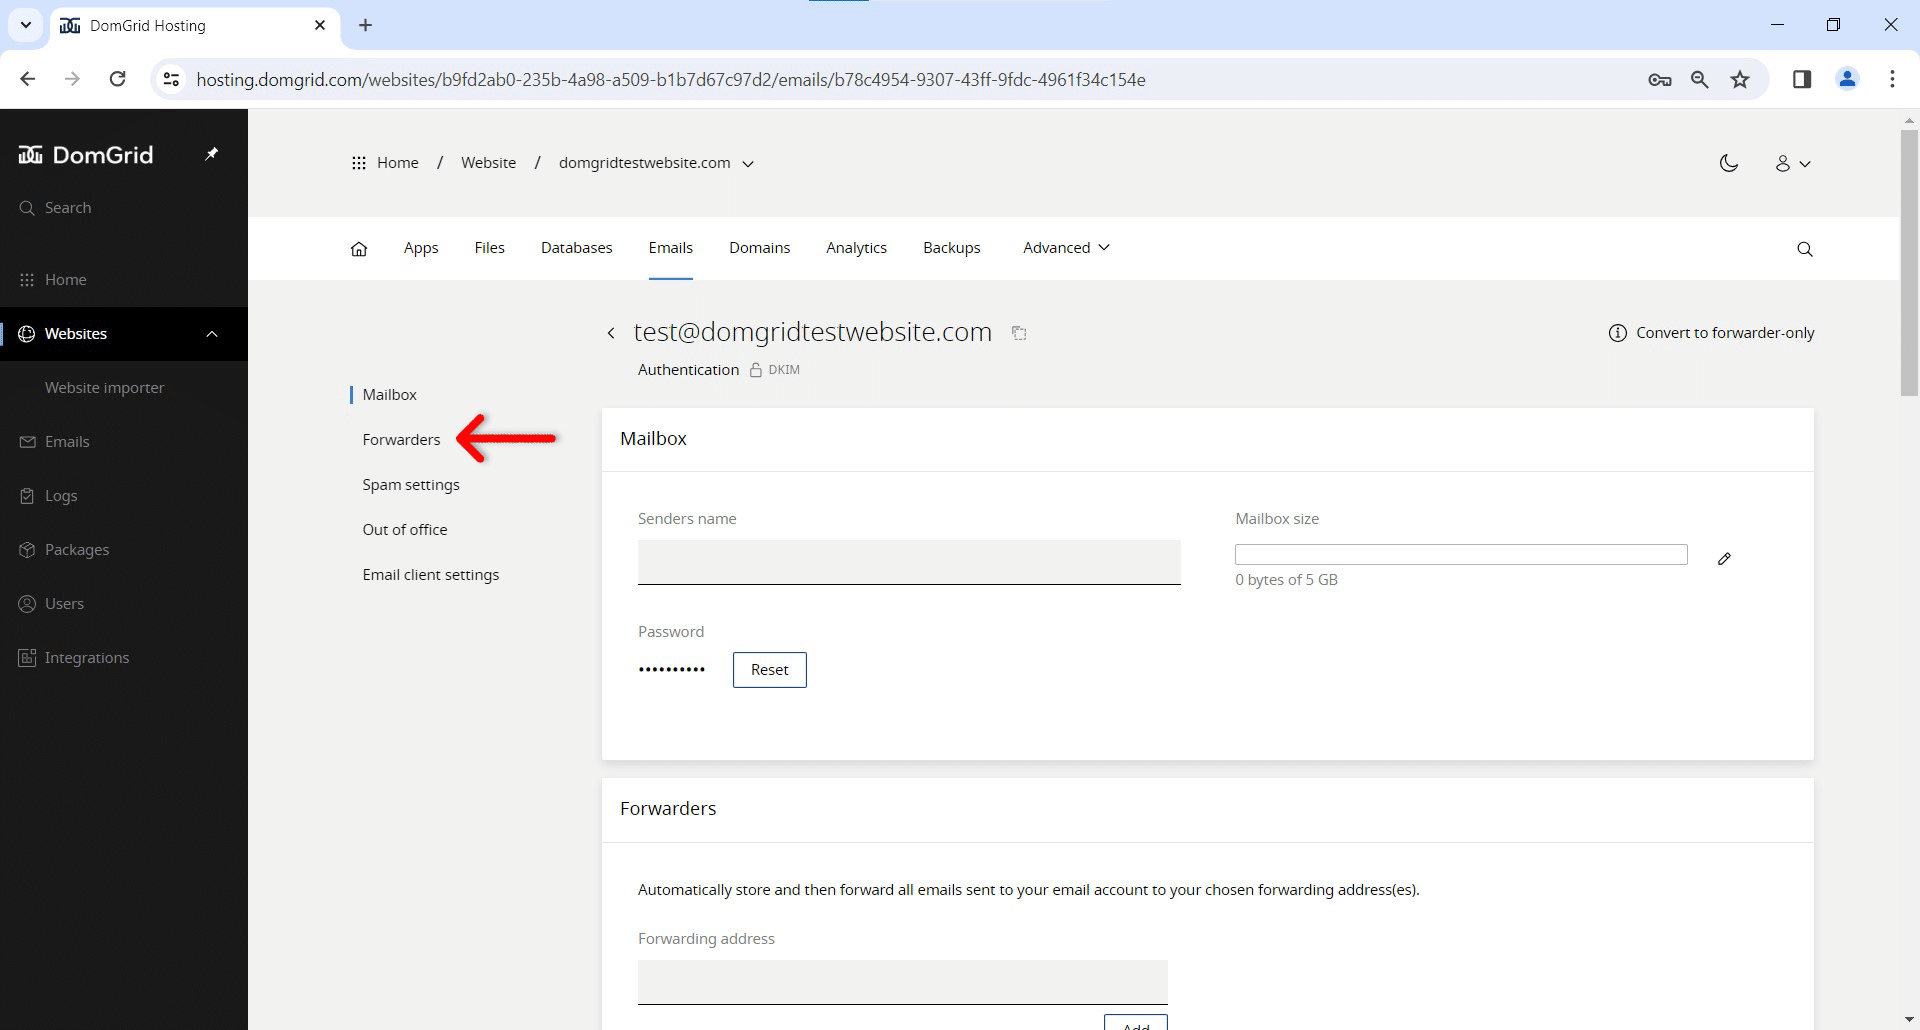
How to Add Forwarders to Your Email
Step 1.
To add forwarders to your email account, click on the “Emails” in the menu.
Step 2.
Click on the email for which you want to add the forwarders.

Step 3.
Click on the “Forwarders” option in the menu, or scroll down to that heading.
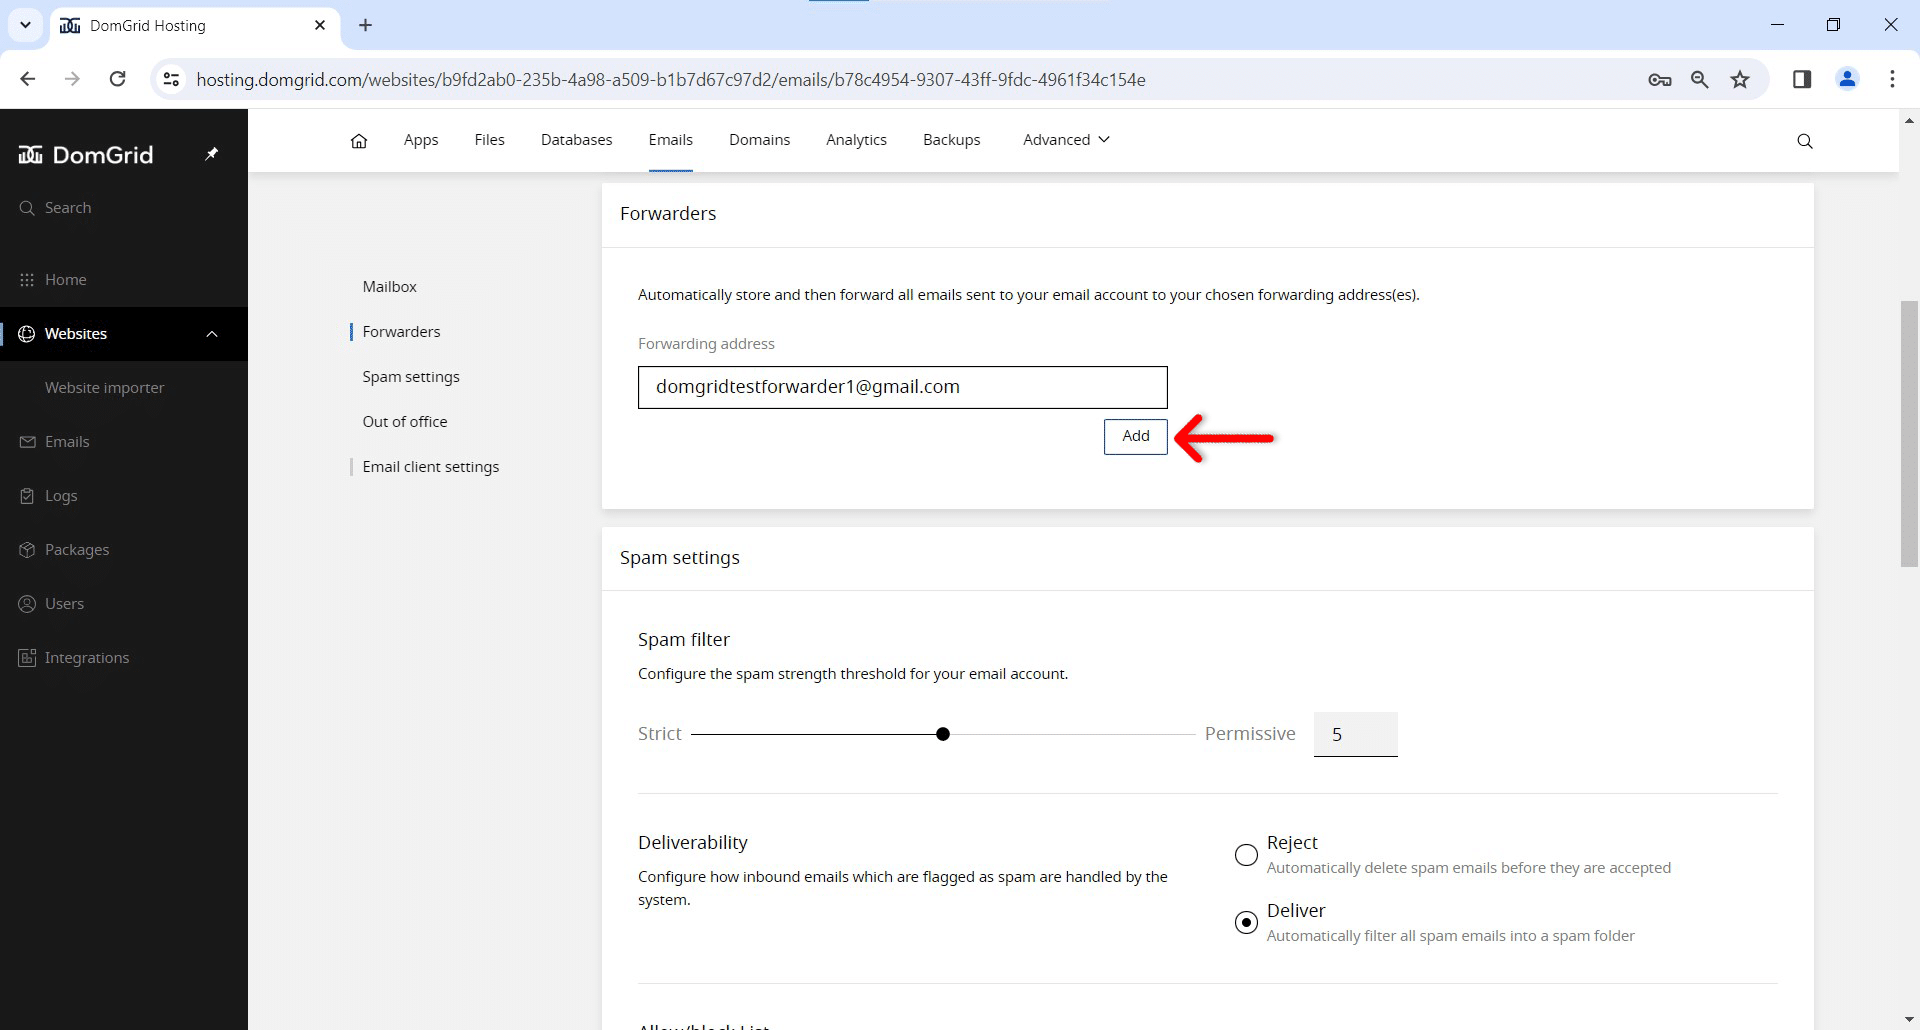
Step 4.
Input your forwarder and click on the “Add” button.
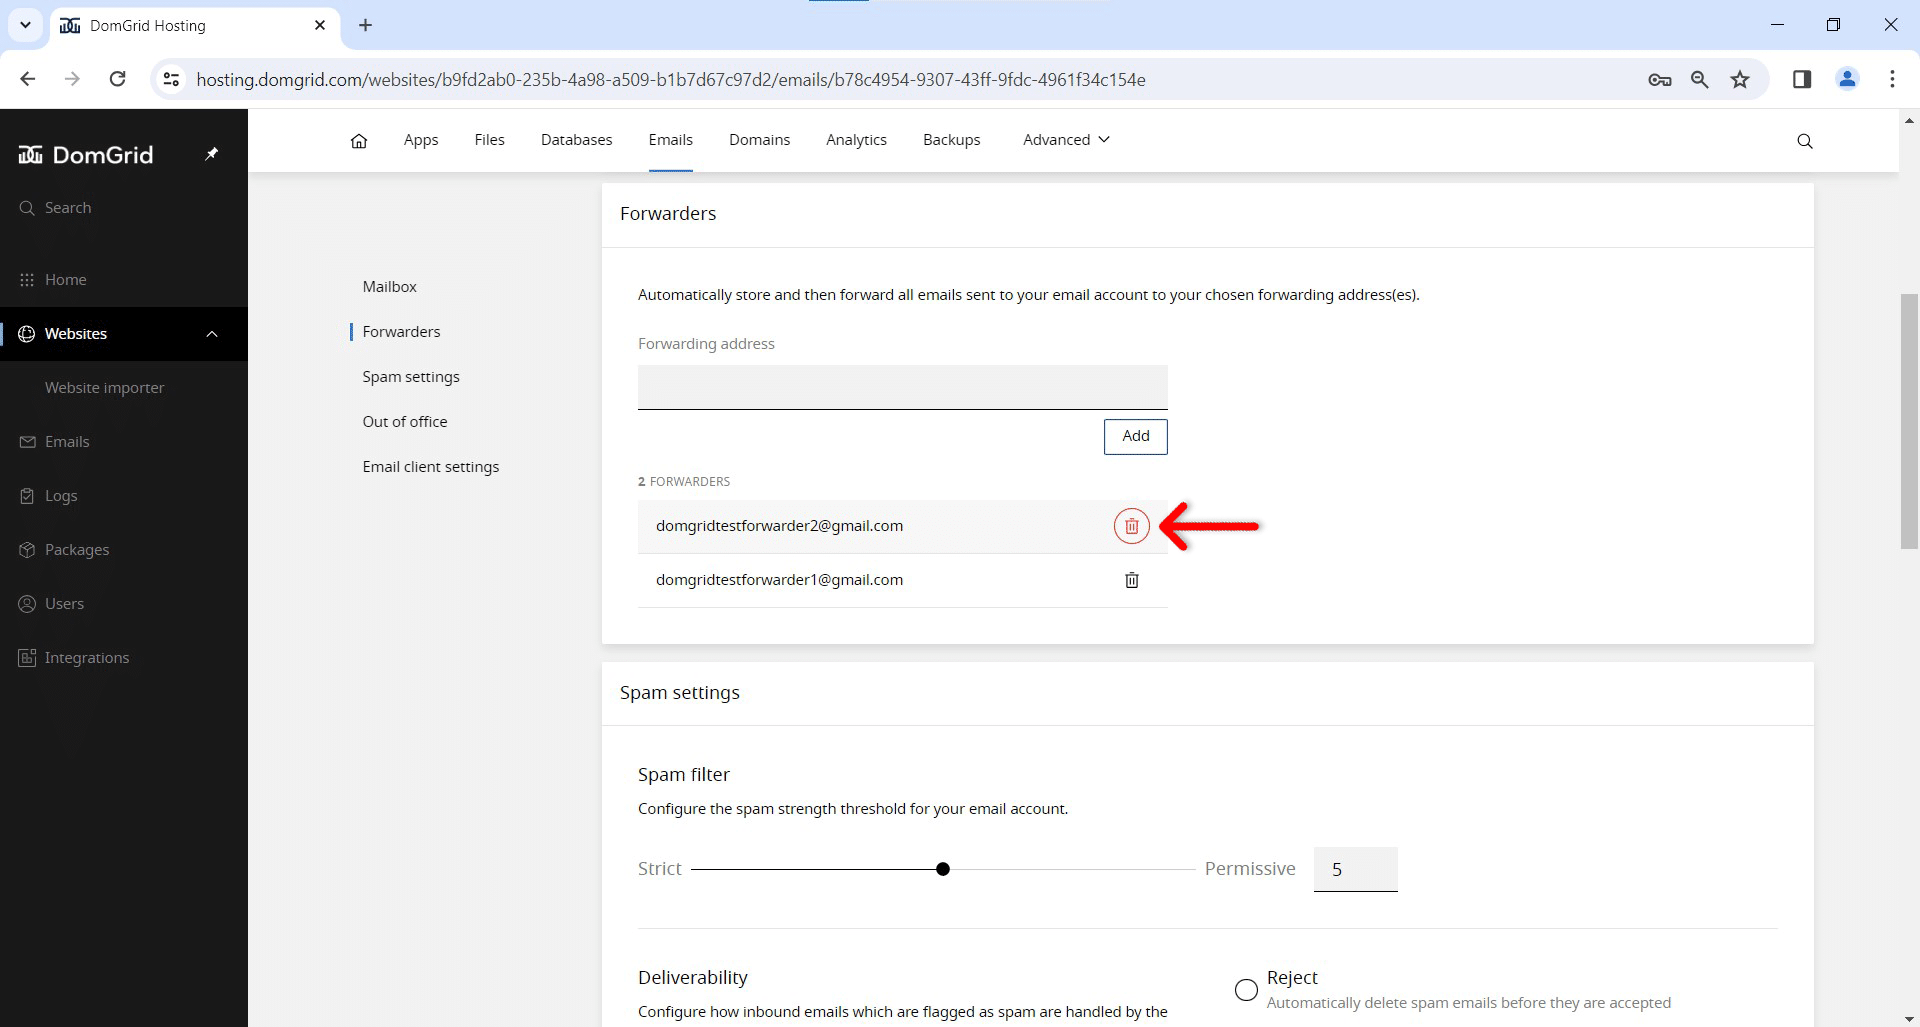
Step 5.
If you want to remove a certain forwarder, click on the trash can icon next to the forwarder.
How to View Basic Analytics Data
Step 1.
Click on the “Websites” in the menu and choose the website for which you want to view basic analytics data. Or choose the website from the “Websites()” section in the middle of the screen.

Step 2.
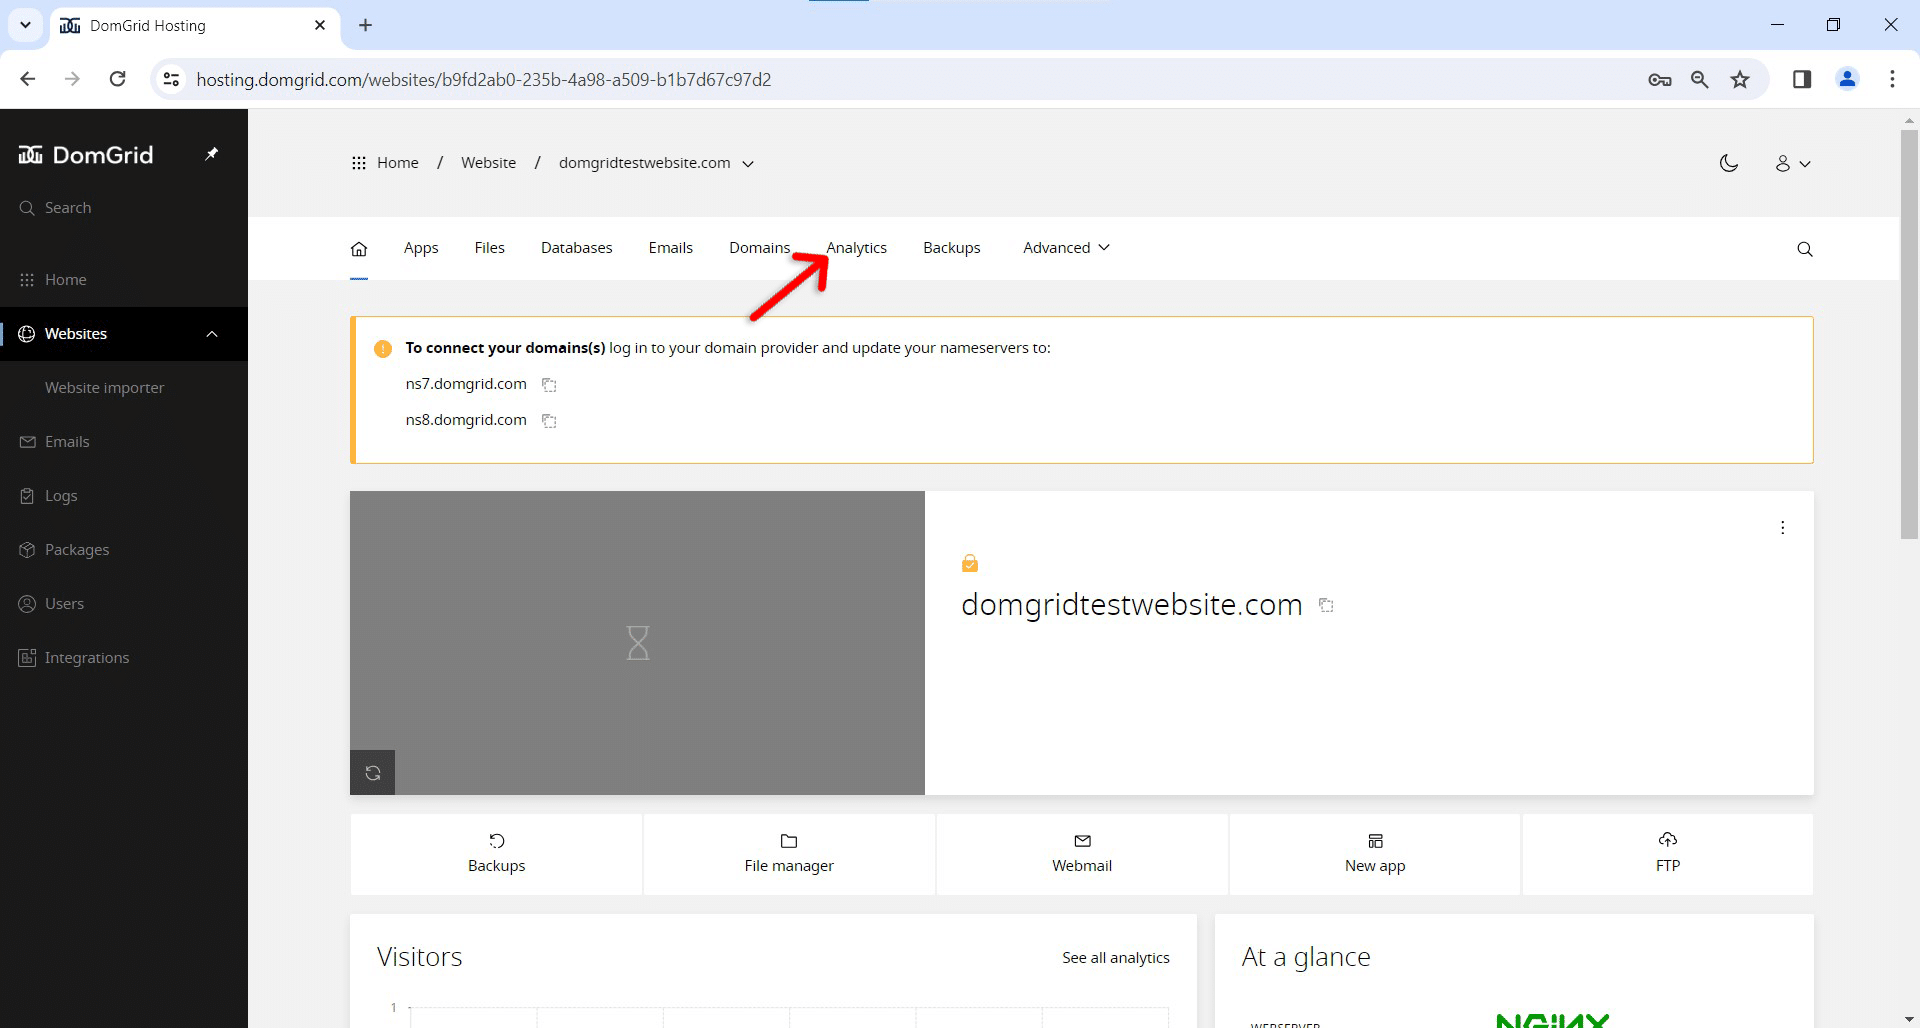
Click on the “Analytics” in the menu.
Step 3.
Here you can see your website’s Bandwith and Visitors data (1.). You can also choose for which period to show the data (2.).

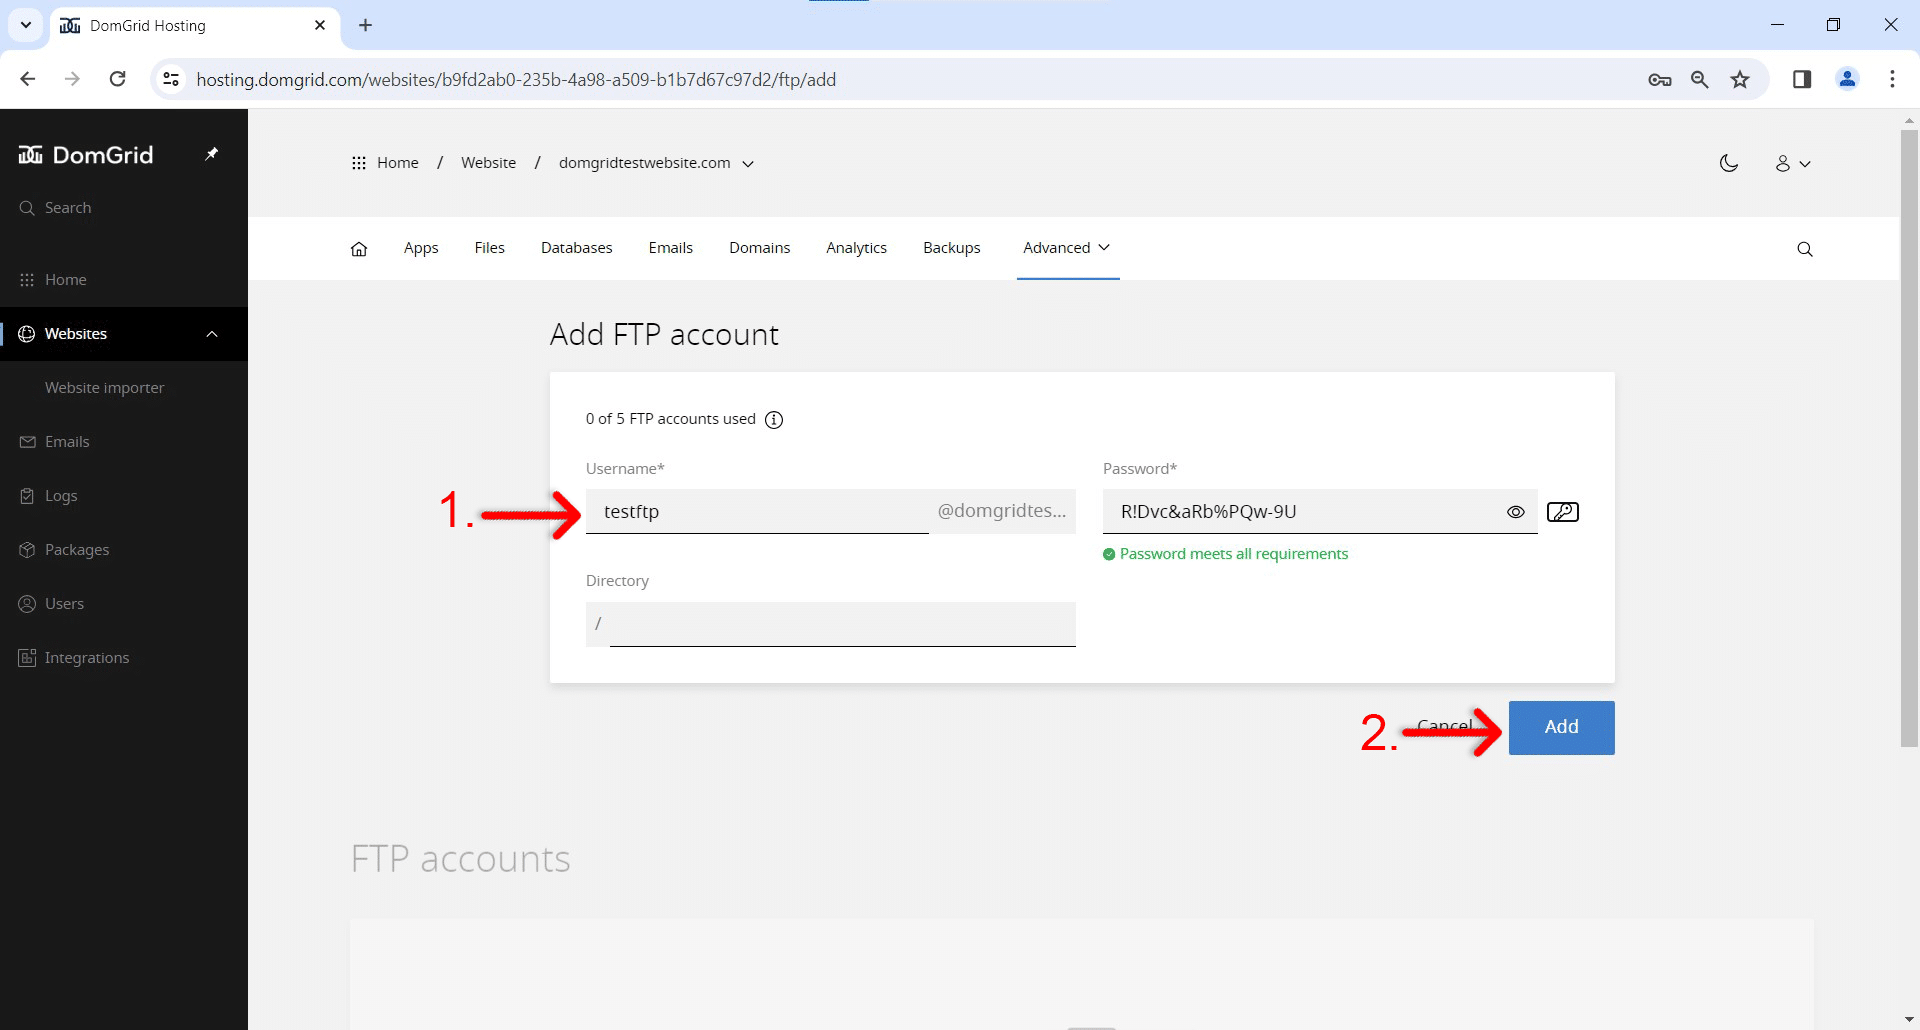
How to Add FTP Users
Step 1.
Click on the “Websites” in the menu and choose the website for which you want to add the FTP users. Or choose the website from the “Websites()” section in the middle of the screen.
Step 2.
Click on “Advanced” in the menu and choose the “FTP” option.

Step 3.
Click on the “Add account” button in the middle of the screen.

Step 4.
Input the name of the FTP account (1.) and click on the “Add” button (2.).